Face Shields and PPE
Manufacturing Full Face Shields using
the Colex Sharpcut Flatbed Cutter
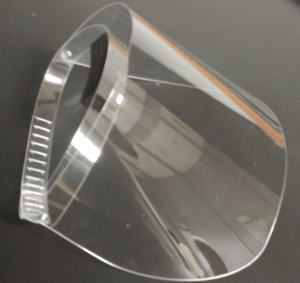
General Description:
This product is a full face shield that allows adjustment for head size. It incorporates a hinge feature and provides a foam pad where it contacts the user’s forehead.
- Copolyester Plastic Clear (PETG SH 0.030 48 x 96 CL F2 I VI FDA)
- Other materials may be substituted based on availability
- 1” x 1” Neoprene Rubber with adhesive cut to 4” lengths 1 ea.
- 3/8” Vinyl Tape
- POP Rivet .125” x .265” Steel Zinc Plated (Pop Brand SD42-BS) Qty 2 ea.
- #5 Flat Washer Steel Zinc Plated (#6 will work also) Qty 4 each
- Colex Sharpcut Flatbed Cutter w/ 4’ x 8’ cut area.
- Tool 2 – Oscillating knife with Colex Blade T00420 (see appendix)
- Tool 3 – Double edge Colex Blade T00312
- Tape Dispenser
- Manual or air assisted PoP Rivet Gun
- Band Saw or other method to cut Neoprene Rubber
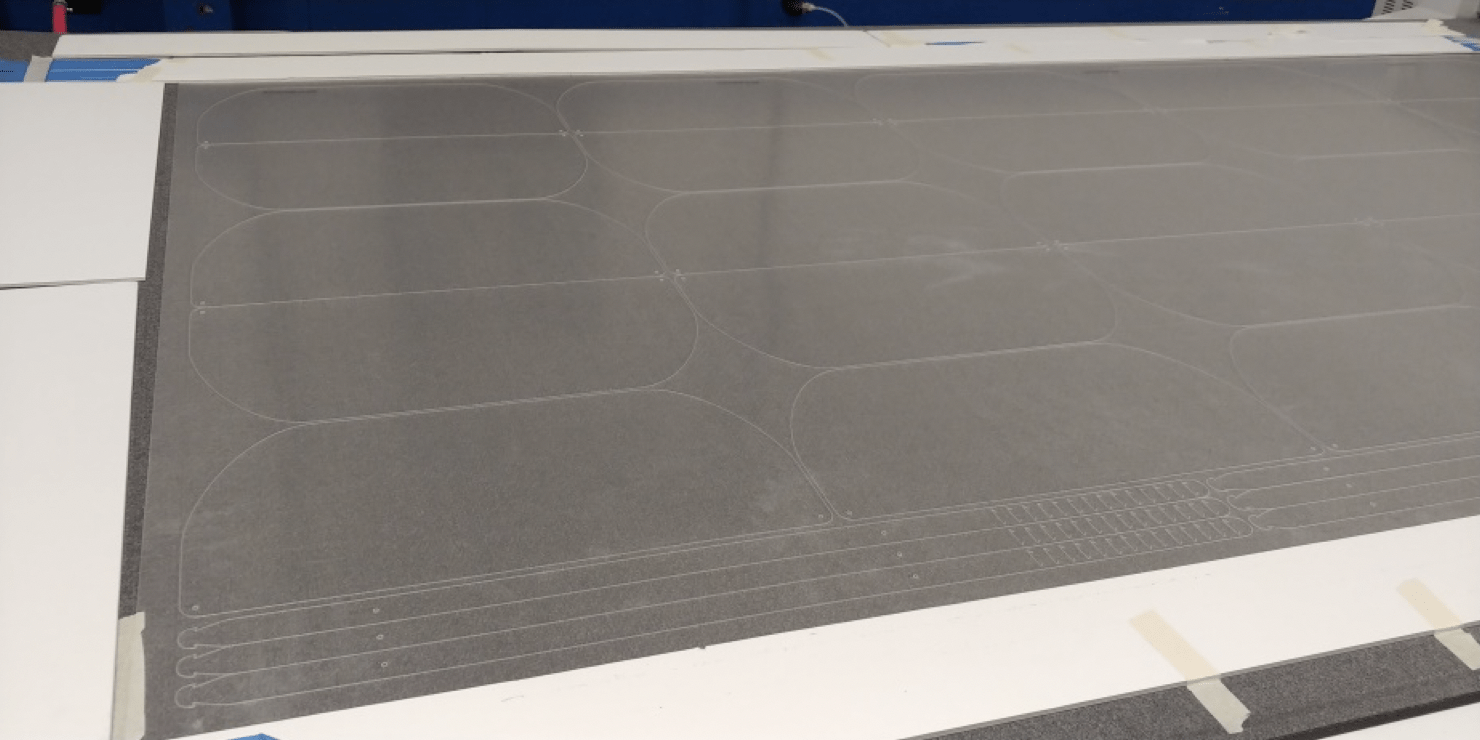
- Cutting the Shield and Strap on the Colex Sharpcut.
- Two computer PDF templates located below are needed for the Sharpcut. These two templates are used to maximize material usage and are designed for 48” x 96” material. (Templates can be modified for different sizes)
- To balance the number of parts template 1 needs to run 8 times and template 3 needs to run 1 Time. This will produce 219 sets of parts.
- Both programs use the same Tool Setup with the Oscillating Knife in Tool 2 and the Double Edge Knife in Tool 3.
- Tool 2 Feed Rate = 100 in./min. Plunge Rate = 300 in./min. (Runtime= 16 min.)
- Tool 3 Feed Rate = 350 in./min. Plunge Rate = 300 in./min. (Runtime= 61 min.)
- One item to note: The bottom left corner of the material has a tendency to lift while cutting in this area. Taping down this corner to the bed to the material alleviated this problem. Reorganizing the layout to limit the amount of cutting in the corners and edges is a better long term solution.
Download PDF Template
Template 1 Cutouts
Prepping Components for Assembly
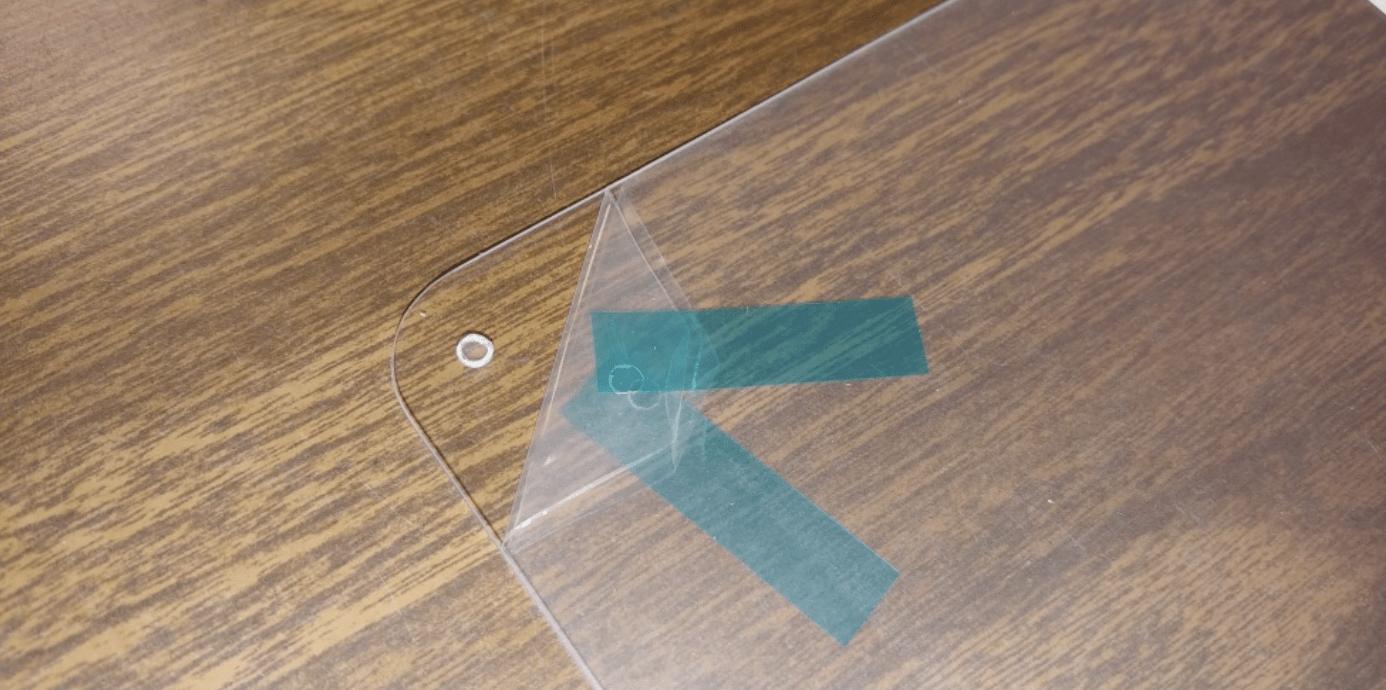
The PETG has a protective film on both sides. This film needs to be completely removed from the Strap and the on Shield it needs to be pulled back from the corners on both sides to allow the installation of the rivets. See illustrations below.
Fresh off the cutter with protective film still attached.
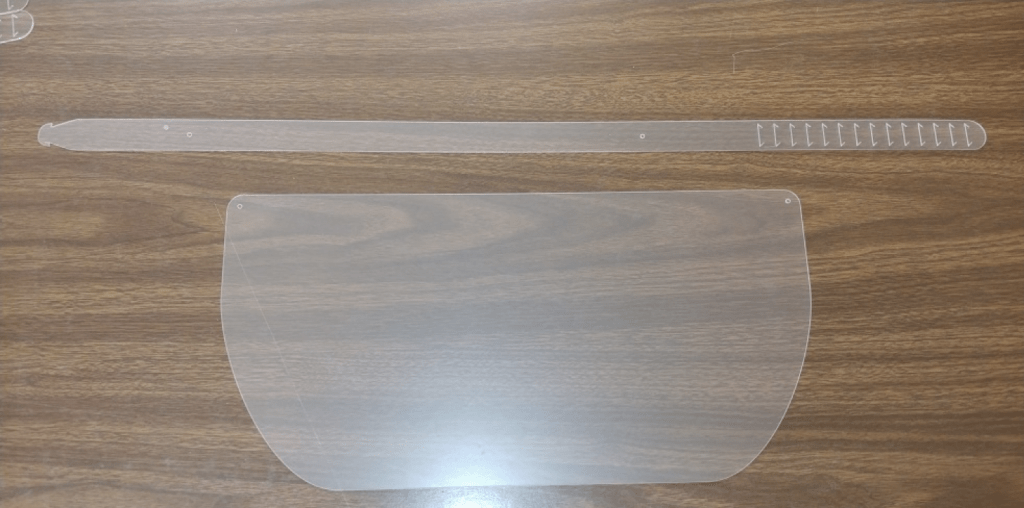
Shield with protective film pulled back.
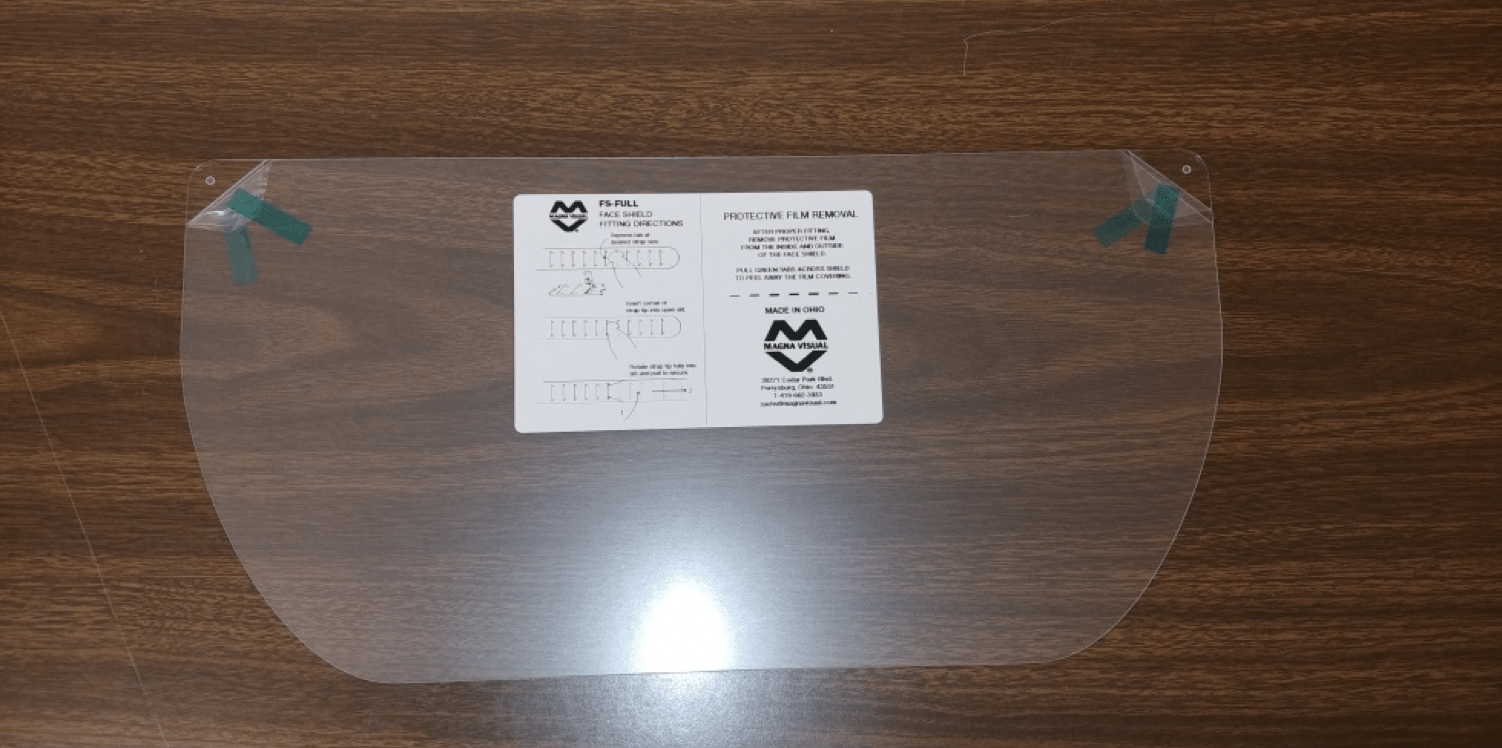
Shield film detail
Assembly
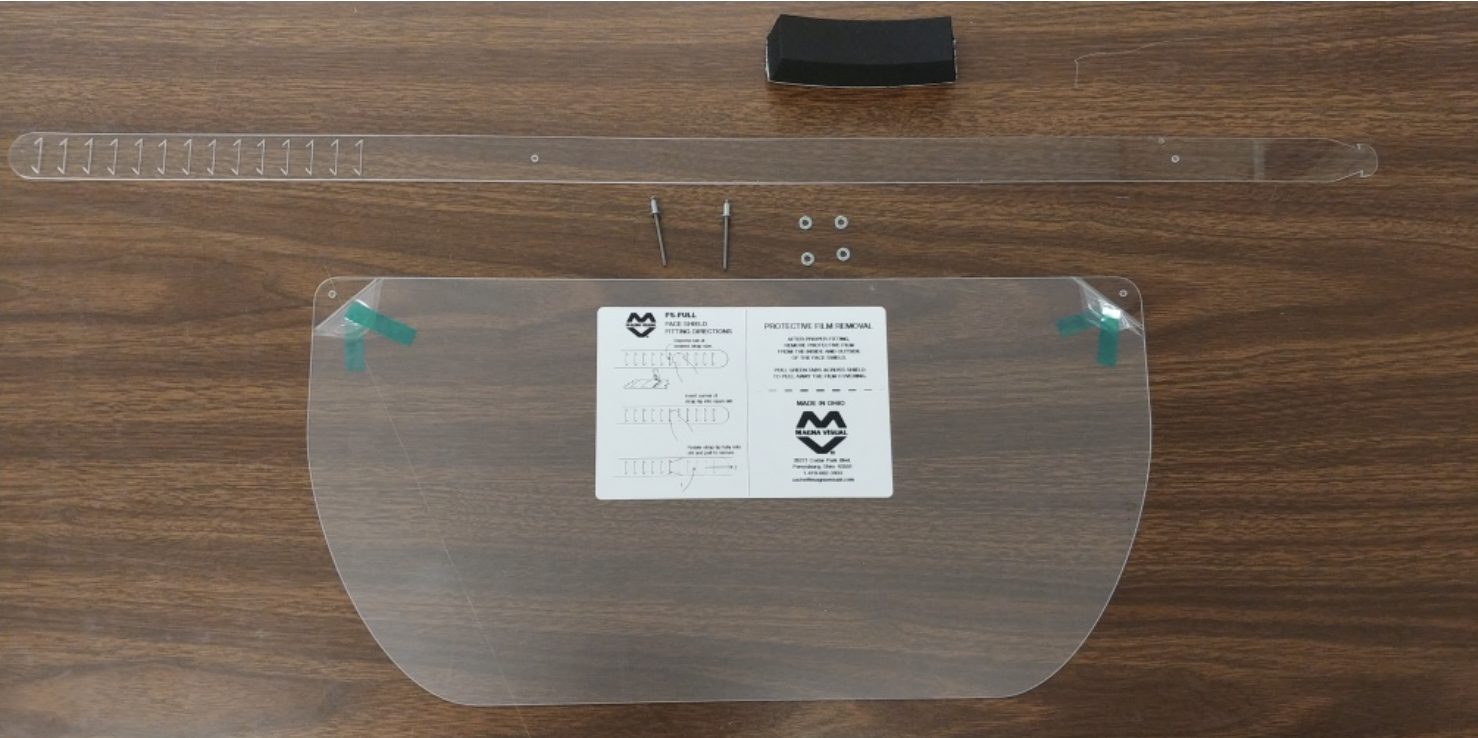
1. All parts ready for assembly
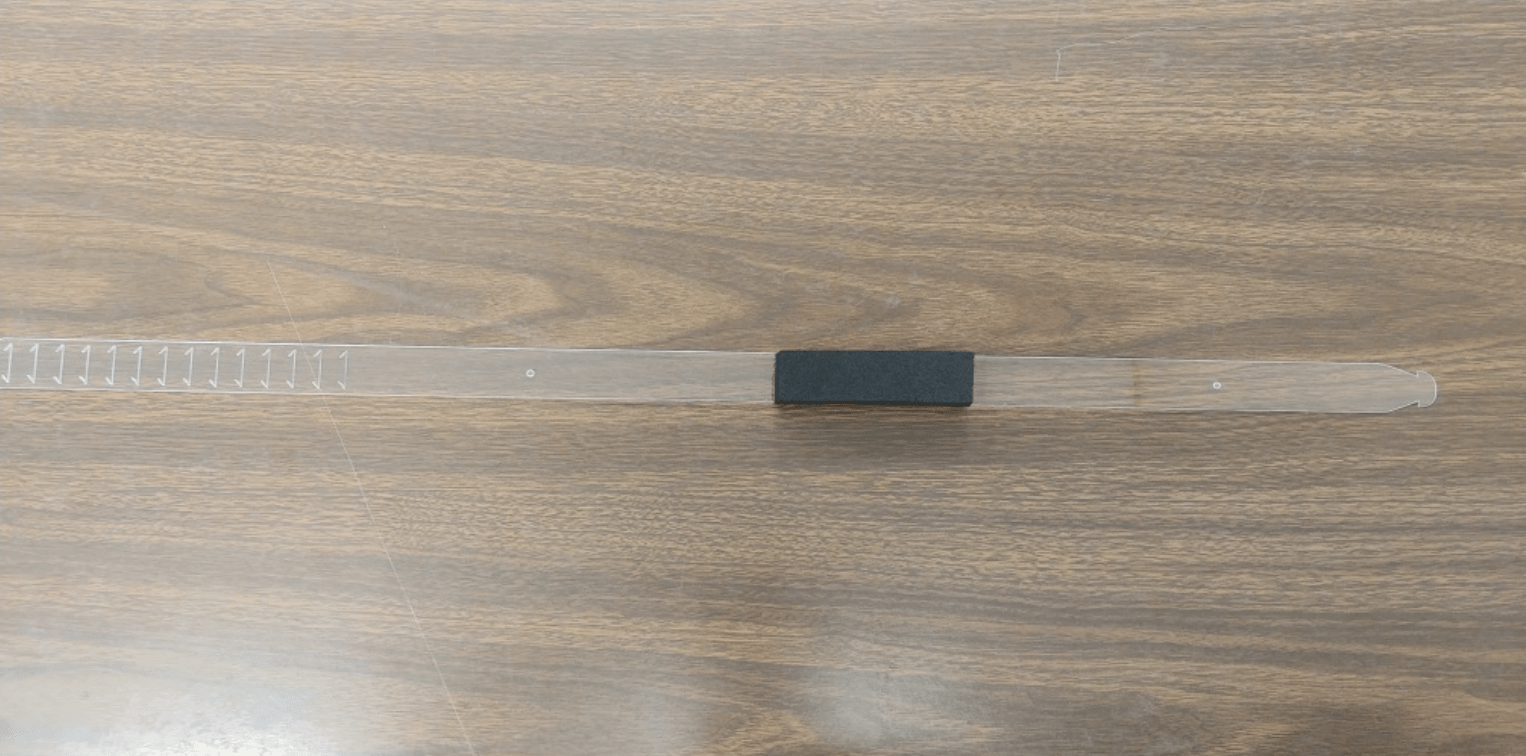
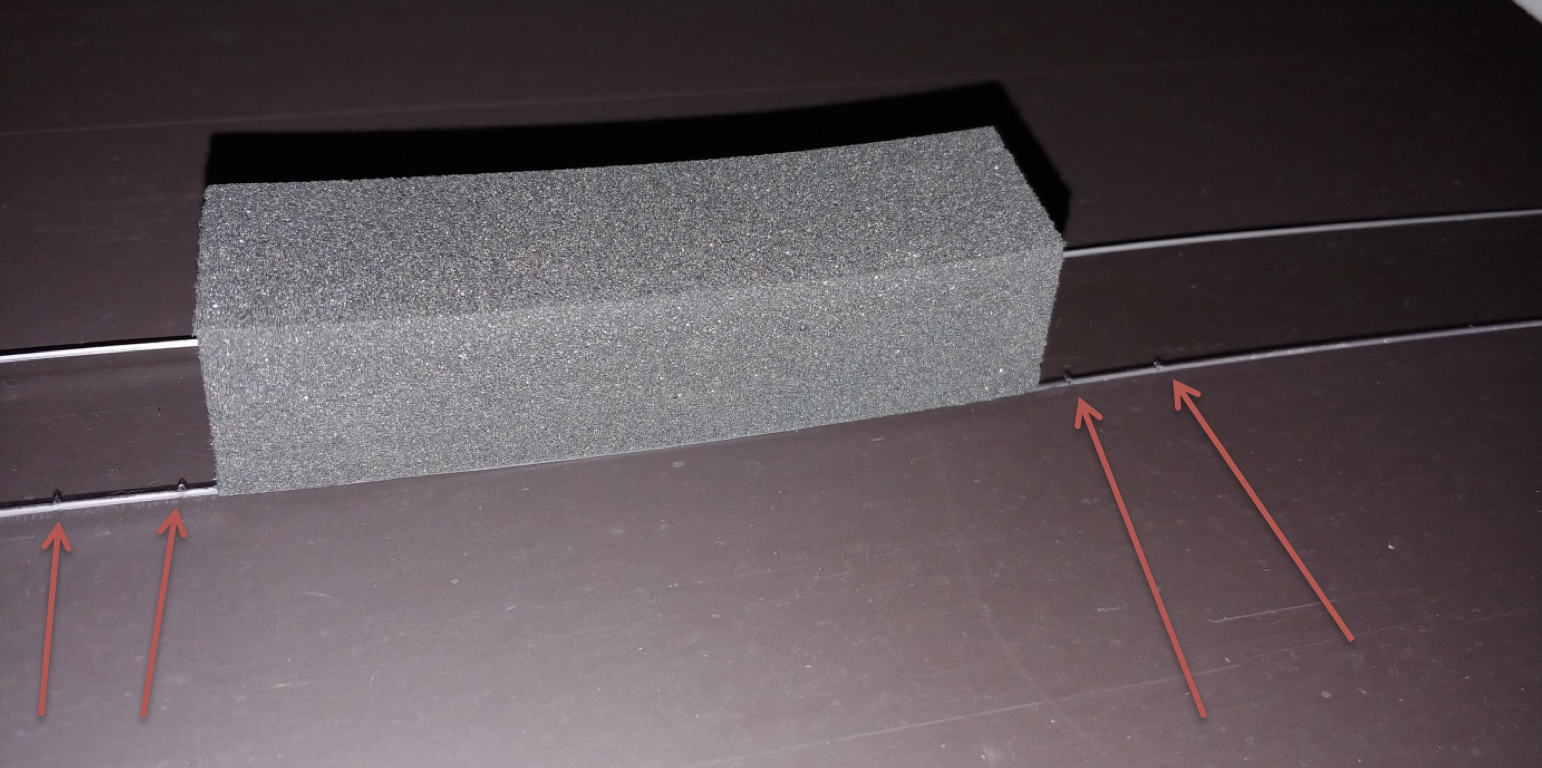
2. Attach adhesive backed neoprene rubber to strap. There are small marks in the strap used for alignment.
3. To rivet the Strap to the Shield, insert the rivet into one of the holes in the strap. Be sure to insert into the same side that the neoprene pad is on. This will keep the smooth end of the rivet against the wearer’s head. This method of using the rivets allows the Shield to pivot if user wishes.
4. Next place a washer onto the rivet and then the Shield and finally another washer. Then set the rivet using the rivet tool.
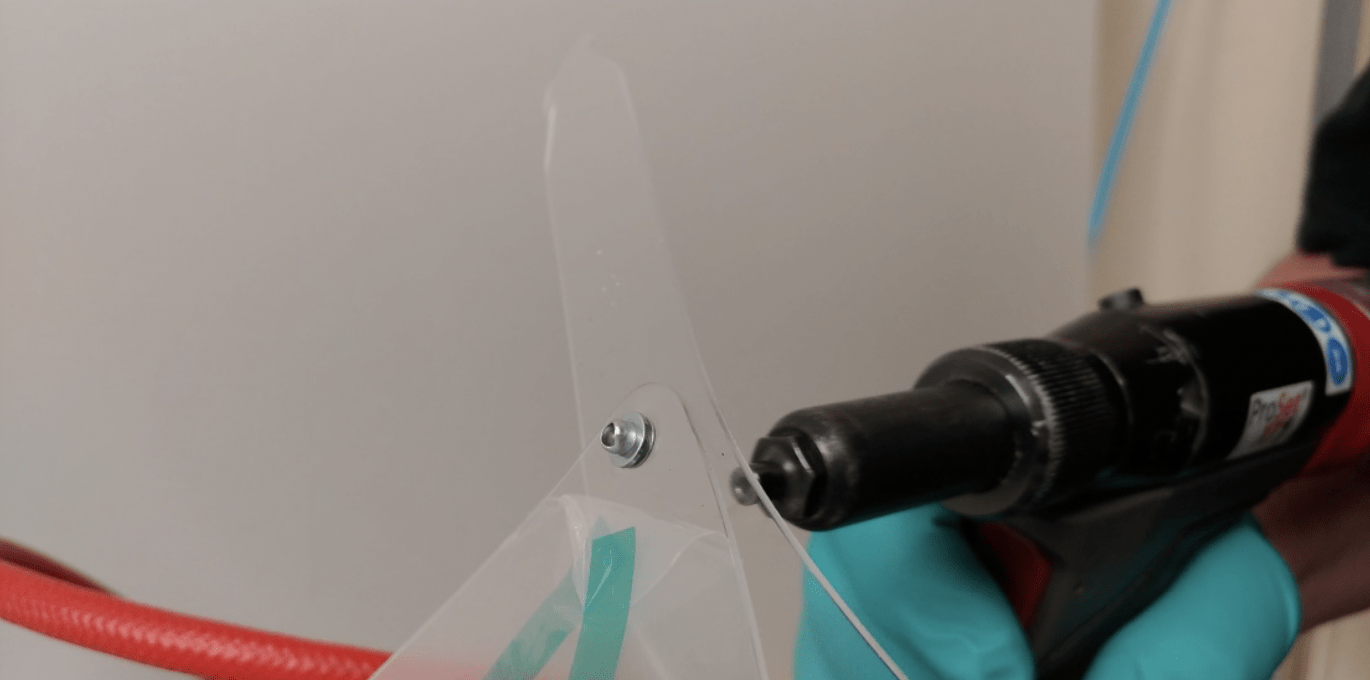
5. Repeat with the other side of the shield.
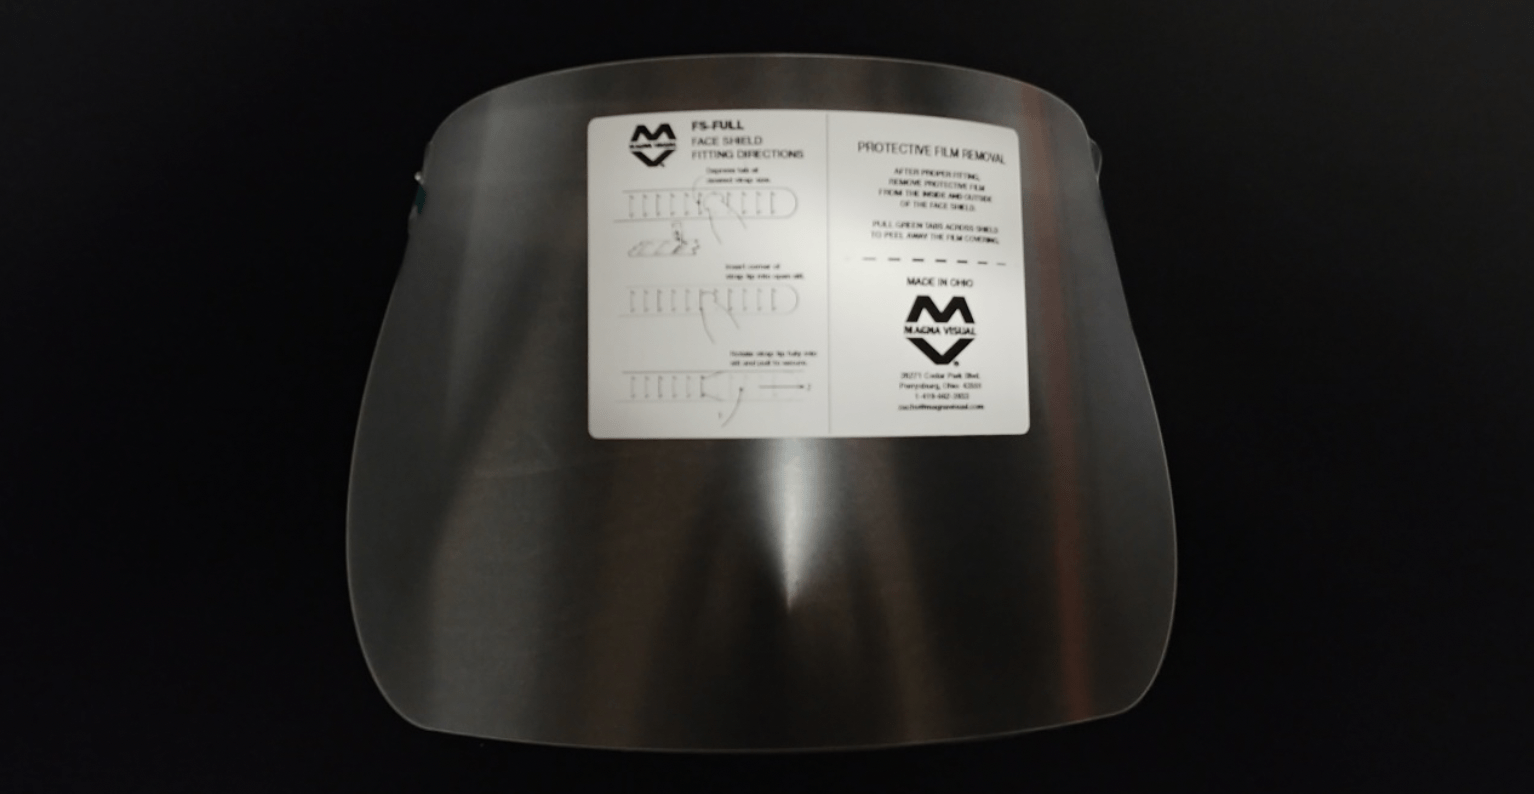
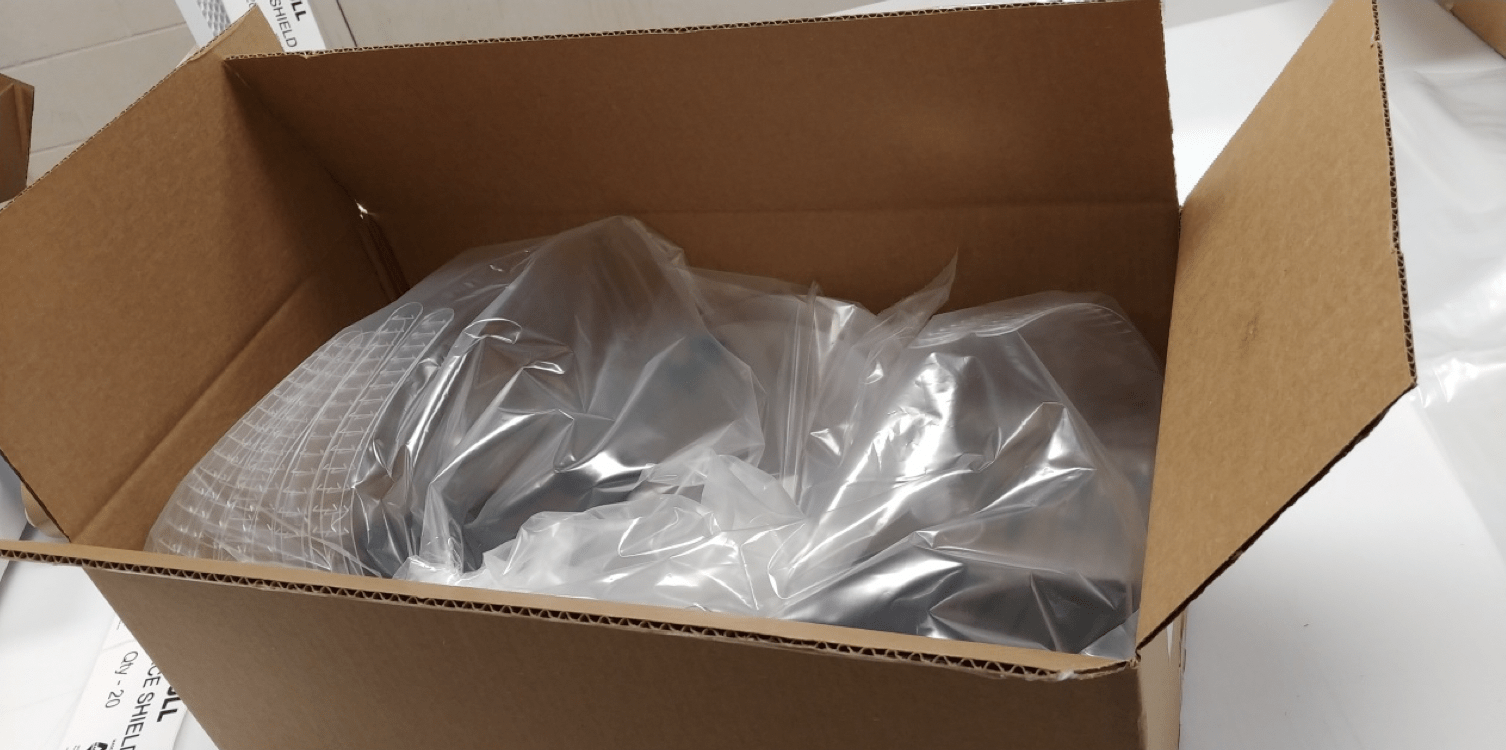
Packaged for shipping (20 per box)
Colex would like to give you special Thank You to Magna Visual Corporation for putting this product together so quickly to help protect people from the COVID-19 Virus.
WARNING
PLEASE BE ADVISED THAT THIS PRODUCT IS NOT REGISTERED OR CERTIFIED AS A MEDICAL DEVICE AND IS ONLY PROVIDED AS A MEANS TO REDUCE OR LIMIT, WHEN WORN PROPERLY, EXPOSURE TO RESPIRATORY DROPLETS. THIS VISOR SHOULD NOT BE CONSIDERED TO, UNDER ANY CIRCUMSTANCES, COMPLETELY PROTECT THE USER FROM AIRBORNE RESPIRATORY DROPLETS. THIS PRODUCT HAS NOT BEEN TESTED TO ANY SPECIFIC REGULATORY REQUIREMENT RELATING TO FACE SHIELDS OR FACE PROTECTION AND IS ONLY BEING SUPPLIED FOR PUPOSES OF THE EMERGENCY ASSOCIATED WITH RELIEVING SHORTAGES OF OTHERWISE CERTIFIED FACE SHIELDS DURING THE COVID-19 CRISIS OF 2020 IN THE USA. THIS PRODUCT IS SUPPLIED PURSUANT TO THE PUBLIC READINESS AND EMERGENCY PREPAREDNESS ACT (PREP), AS WELL AS IN RESPONSE TO VARIOUS EMERGENCY REQUESTS BY STATE AND FEDERAL AUTHORITIES.
